Starting your first time charcoal grilling setup can feel overwhelming. However, the process becomes much simpler once you understand the key steps. Whether you grill for personal enjoyment or run a food business, this guide walks you through everything you need to know.
Choose Your First Charcoal Grill Setup
Before you start, choose a grill that fits your cooking needs. Kettle grills suit beginners well because they offer great heat control at an affordable price. Additionally, their compact size makes them easy to manage outdoors.
Consider portability, cooking surface area, and build quality. A sturdy grill with adjustable vents gives you better control over the fire. Moreover, good ventilation plays a critical role in achieving consistent cooking temperatures.
Gather Your First-Time Grilling Setup Essentials
Every successful first time charcoal grilling setup starts with the right tools. Prepare these items before you light anything:
- Charcoal chimney starter
- Lump charcoal or briquettes
- Long-handled tongs and grill brush
- Heat-resistant gloves
- Instant-read meat thermometer
Briquettes burn more evenly and last longer, making them ideal for beginners. Lump charcoal, on the other hand, lights faster and burns hotter. Therefore, choose based on what you plan to cook.
Light Your Charcoal Grill for the First Time
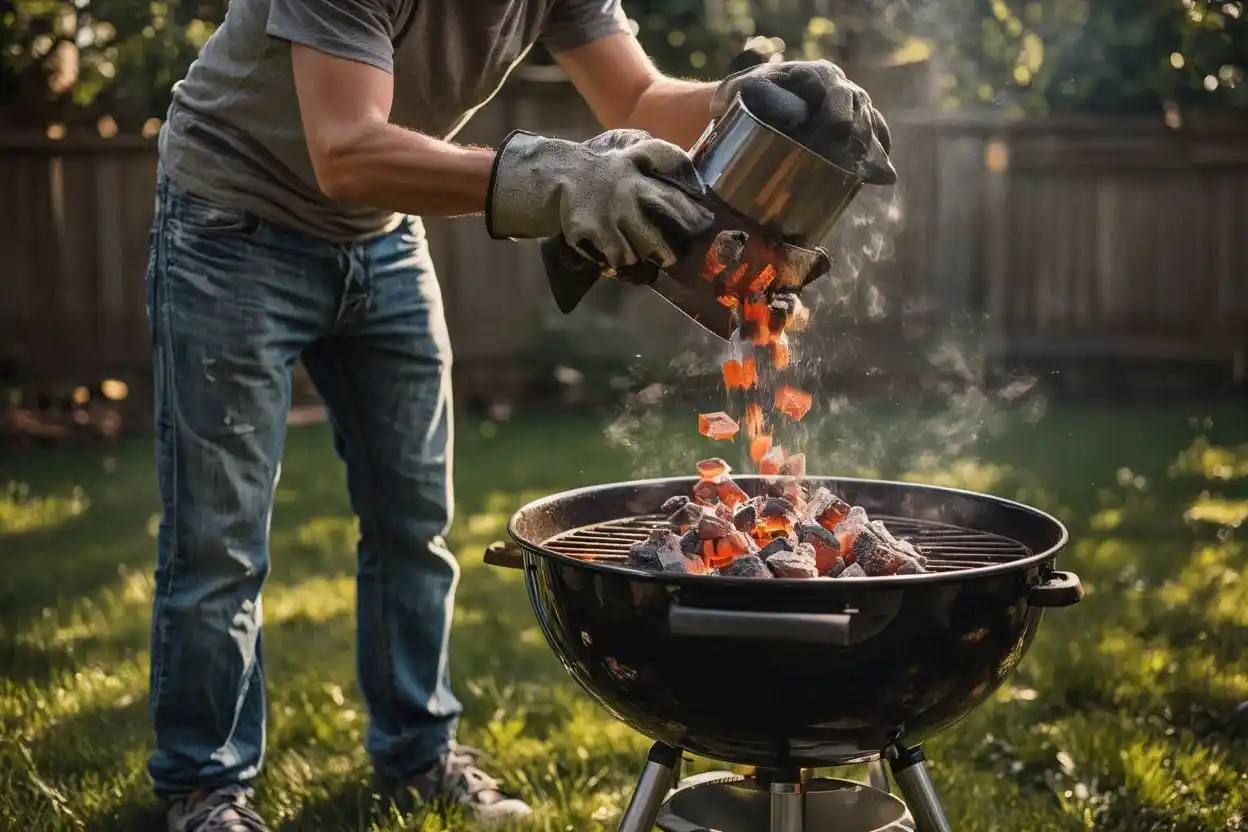
Fill your chimney starter two-thirds full with charcoal. Place two sheets of crumpled newspaper at the base, then light it from the bottom. In about 15 to 20 minutes, the coals will glow orange and display a gray-white ash on top.
Pour the hot coals carefully into the grill. For versatile cooking, push all coals to one side. This two-zone method gives you a hot searing zone and a cooler zone for finishing your food gently.
Never squeeze lighter fluid directly onto lit coals. Furthermore, always keep a small fire extinguisher or bucket of sand nearby. Safety matters just as much as flavor in any grilling setup.
Control Heat on Your Charcoal Grilling Setup
Airflow determines how hot your charcoal grill burns. Open both the top and bottom vents fully to raise the heat. Conversely, close them halfway to lower the temperature for slow cooking.
Check the internal temperature regularly using a grill thermometer. For steaks and burgers, aim for a high-heat zone above 230°C. Meanwhile, ribs and chicken thighs cook better in a lower, steadier heat range.
For a deeper dive into technique, charcoal grill setup for beginners offers practical guides that help first-timers build real confidence at the grill.
Maintain Your Charcoal Grill After Each Session
Right after cooking, scrub the grates with a wire brush while they stay hot. This removes food residue before it hardens and sticks to the grates. Additionally, regular brushing extends the life of your grates significantly.
Wait for the ash to cool completely before you dispose of it. Transfer the cold ash into a metal container, then seal it tightly. For more cooking tips and lifestyle content across various topics, explore sewcazual.com as a go-to blog reference.
Inspect your grill for rust or loose bolts every few uses. Store it under a weather-resistant cover when you finish for the season. These small habits protect your investment and keep every session running smoothly.
Conclusion
Starting your first time charcoal grilling setup feels simpler than most beginners expect. By choosing the right grill, gathering proper tools, lighting coals correctly, and managing airflow with confidence, you set yourself up for a great cooking experience. Moreover, consistent cleaning and simple maintenance keep your grill performing at its best for years ahead. Start with these fundamentals, and every grilling session will feel more natural and rewarding than the last.